Index Surge: Amplifying Your Insights
Stay updated with the latest trends and news across various industries.
Stream Like a Pro with OBS: Your Secret Weapon for Gaming Glory
Unleash your gaming potential with OBS! Discover pro tips and tricks to stream like a champion and dominate your gaming adventures.
Top 10 OBS Settings for Optimal Streaming Quality
If you're looking to improve your streaming quality, optimizing your OBS settings is essential. The Top 10 OBS Settings for Optimal Streaming Quality can significantly enhance your broadcast experience. Firstly, consider adjusting your resolution settings. To strike the right balance between quality and performance, set your base (canvas) resolution to 1920x1080 and your output (scaled) resolution to 1280x720 if you're streaming on platforms like Twitch or YouTube. Next, the Bitrate is crucial; a bitrate between 2500 to 6000 kbps is typically recommended for 720p streams. This ensures a smoother experience for your viewers while maintaining visual clarity.
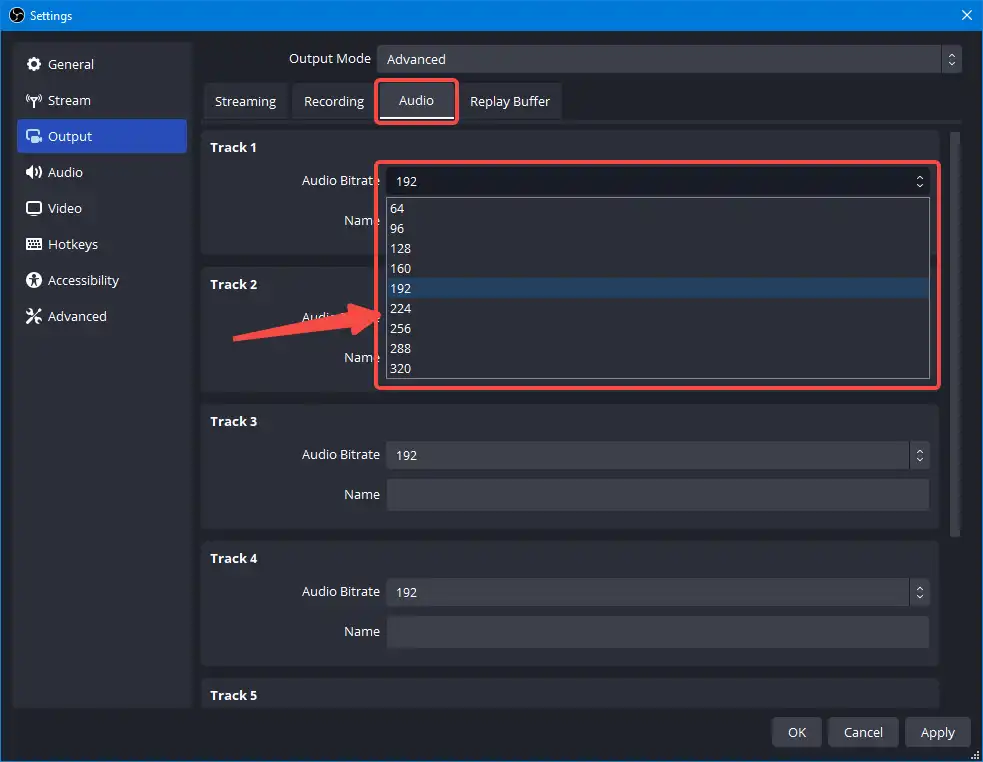
Another key setting is the Encoder. For better performance, use hardware encoding if available, as it offloads processing from your CPU to your GPU. Additionally, under the Advanced Settings tab, make sure to enable the Process Priority to ‘Above Normal’ to ensure OBS runs optimally without interruptions. Don’t forget to adjust the Keyframe Interval to 2 seconds, which is beneficial for compatibility with most streaming platforms. Finally, utilize the Audio settings effectively—setting your bitrate to 160 kbps for audio ensures your audience enjoys a great sound quality along with an engaging visual performance. By implementing these settings, your streams will be more professional and enjoyable for your viewers.

How to Create Stunning Overlays in OBS for Your Stream
Creating stunning overlays in OBS can significantly enhance your streaming experience and engage your audience more effectively. First, start by selecting a design theme that reflects your brand or personality. This could involve choosing colors, fonts, and graphics that resonate with your content. Once you have a theme in mind, use design software such as Adobe Photoshop or free alternatives like GIMP or Canva to craft your overlay elements. Make sure to include essential elements like your logo, social media handles, and subscriber alerts to help viewers connect with your stream.
After designing your overlays, it's time to integrate them into OBS. Begin by opening the software and selecting your scene. Then click the + (plus) button in the Sources box, and choose Image to add each overlay file you’ve designed. Adjust the positioning and size as necessary to ensure that your overlay complements your content without obstructing the main action. For best results, make sure your overlays are saved in a transparent PNG format. By following these steps, you can create professional-looking overlays that will captivate viewers and elevate your stream.
Common OBS Mistakes and How to Avoid Them
When using OBS (Open Broadcaster Software), beginners often encounter several common mistakes that can hinder their streaming or recording experience. One typical issue is improper scene setup; creating a cluttered or unorganized layout can confuse viewers and detract from the overall quality of the stream. To avoid this, it's essential to plan your scenes carefully and only include the necessary elements, such as your webcam feed, game capture, and overlays. Utilizing the scene transition feature effectively can also enhance the professionalism of your stream.
Another frequent error relates to audio settings. Many users neglect to configure their audio input and output properly, leading to poor sound quality or imbalanced audio levels. It's advisable to conduct thorough audio tests before going live, ensuring that your microphone and desktop audio levels are appropriately balanced. Always remember to check your audio mixer for any muted channels or unwanted filters that could affect your broadcast. By addressing these common OBS mistakes, you can significantly improve the overall quality of your streaming experience.